Outlook Desktop App
How to Create Signature in Outlook
How to Create Signature in Outlook 2010, 2016, and 2019
- Open the Outlook app.
- Click on File in the Outlook menu bar.
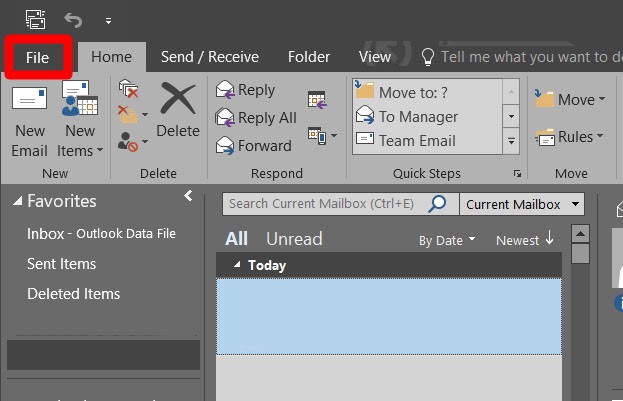
- Then click Options.
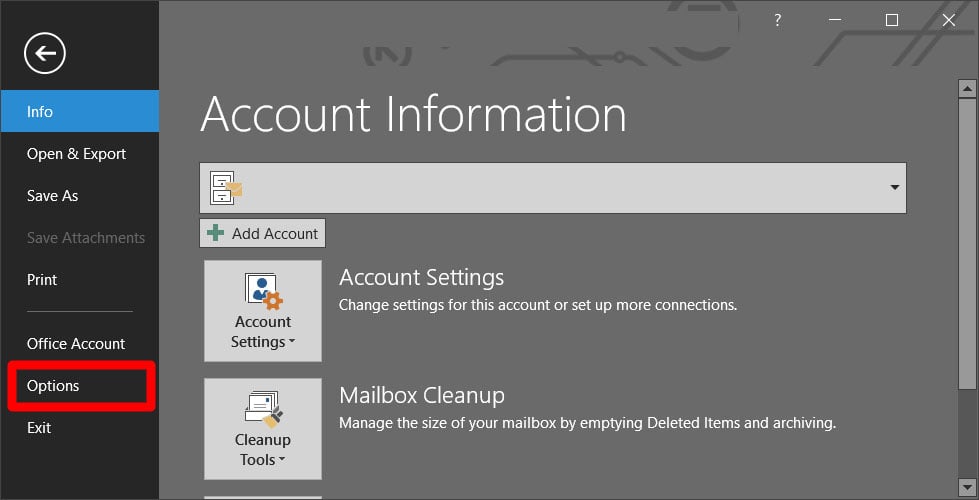
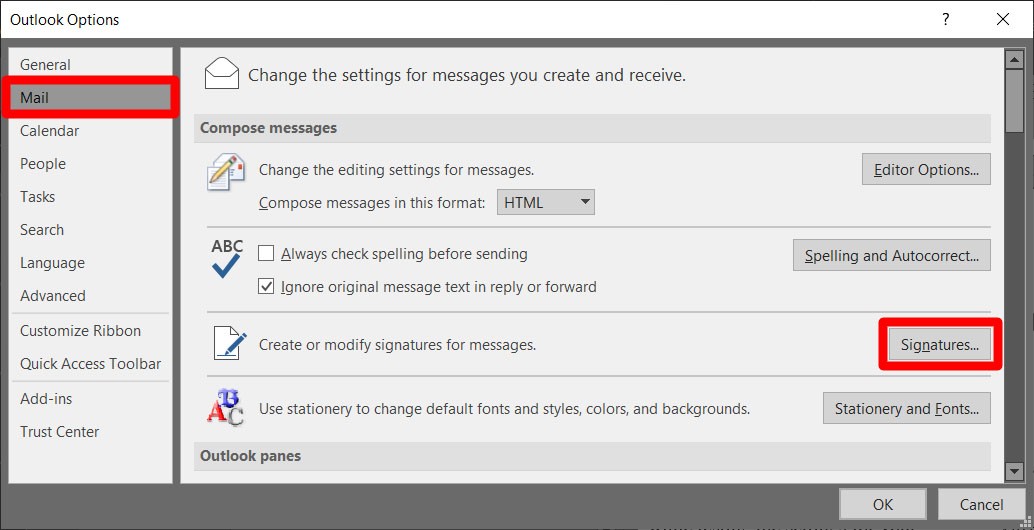
- Click on Mail in the Outlook Options dialog box.
- Then click on Signatures. This will cause the Signatures and Stationery menu to appear.
- In the Email Signature tab, click on New.
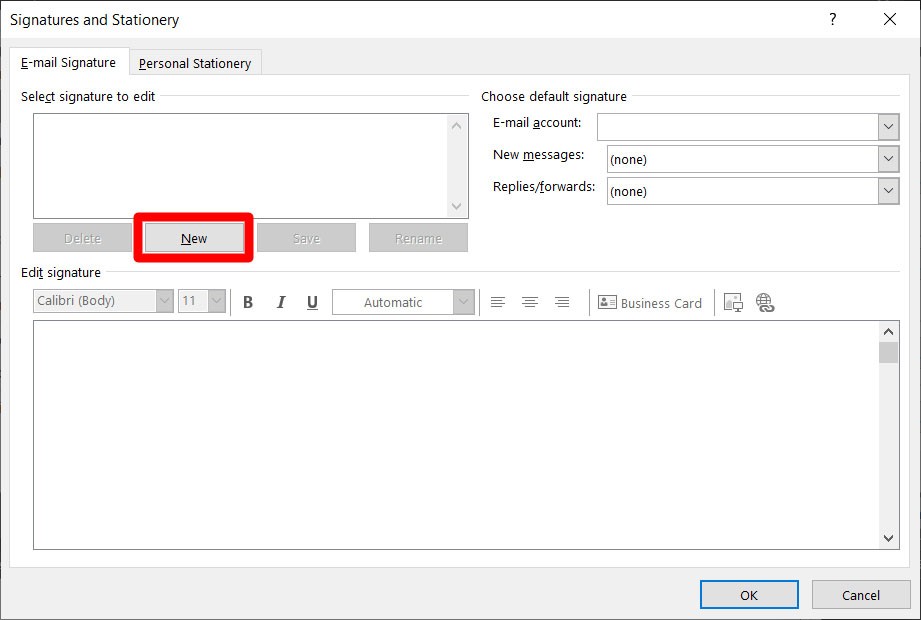
- Type in a name for your signature in the pop-up box, and click OK.
- Type your signature in the Edit Signature box. This is where you put your name, title, company, contact number, and email address, or anything that you want to add to your signature.
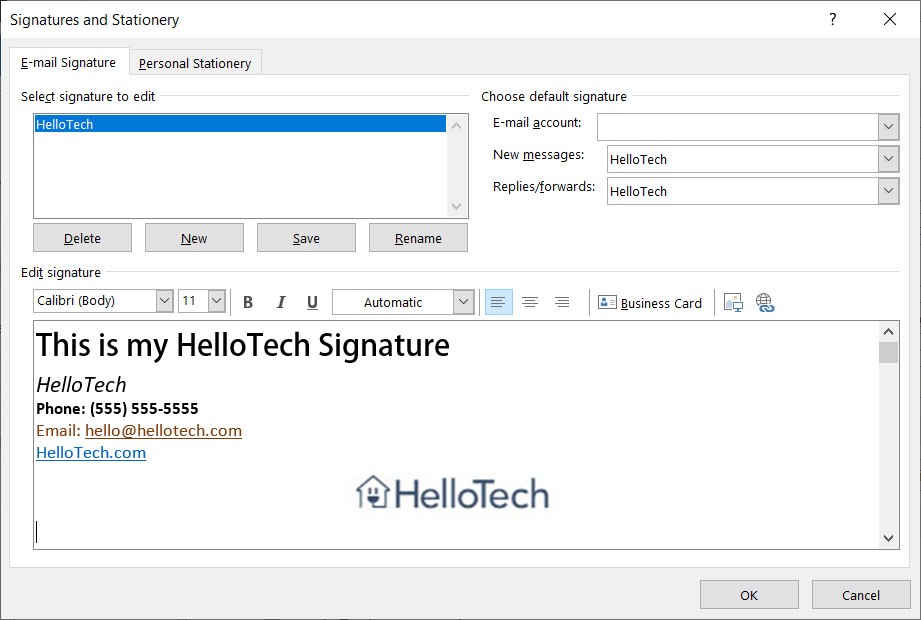
Then you can use the standard editing options in the Edit Signature box to format your signature.
-
You can choose a font type, text size, text effects, text color, and text alignment.
-
You can insert a company logo, social media buttons, or other images by clicking on the Image icon. This will let you import a photo from your computer or hard drive.
-
You can insert a link by clicking on the Hyperlink icon (the one that looks like a globe with a chain).
-
You can insert a business card that you’ve set up in Outlook contacts by clicking on the Business Card icon.
-
In the Email Account dropdown, choose which email account you would like to associate your signature with.
-
In the New Messages dropdown, you can choose which email signature to attach to all new messages. Outlook will then automatically add the selected signature every time you create a new message.
-
In the Replies/Forwards dropdown, you can also choose which email signature to attach to emails that you reply to or forward to others.
-
- Click on OK when you’re done.
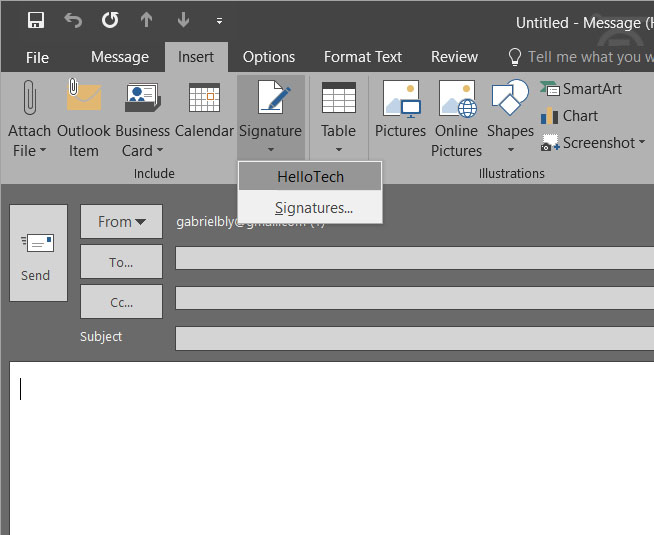
You can then see your signature by opening a new email. If you want to insert it manually, go to Insert > Signature and choose which Signature you would like to add.
How to Set Up an Out of Office Reply in the Outlook Desktop App
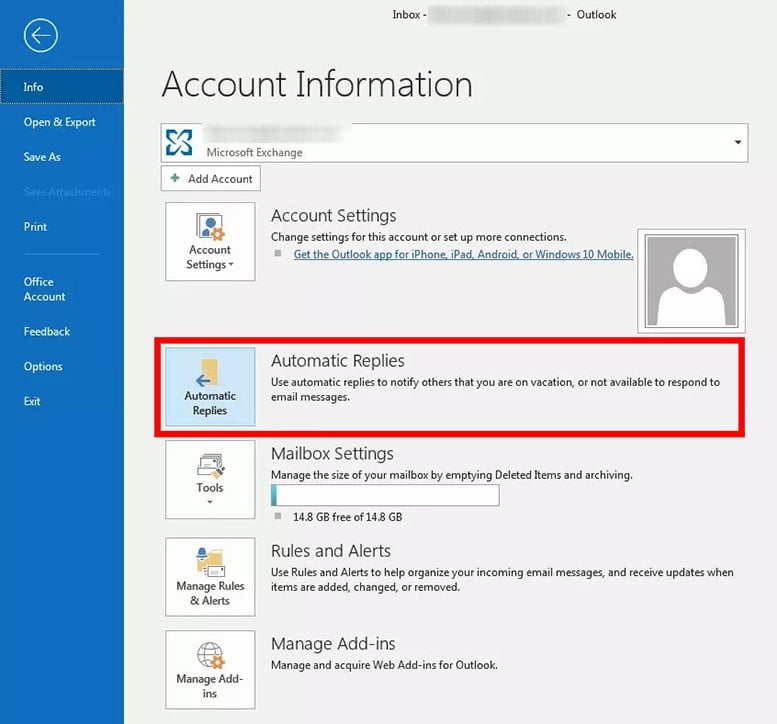
To set automatic out of office replies on the Microsoft Outlook desktop app, go to File > Automatic Replies > Send automatic replies.
- Open Outlook and click File in the menu bar. You can find this in the top left corner of your window.

- Then click Automatic Replies (Out of Office). The Automatic Replies window will then appear.
- Next, click Send automatic replies.
- Tick the “Only send during this time range” box. Set the dates you’ll be out of the office. You can skip this step if you want to manually turn off automatic replies when you get back to the office.
- Then set your automatic out of office reply under the Inside My Organization tab. This will be the automatic response sent to people from your company who email you while you’re away.
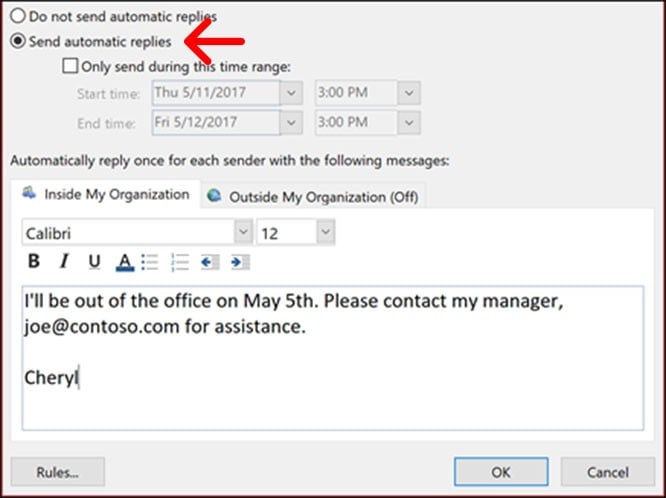
- Set your automatic out of office reply under the Outside My Organization tab. This is for people outside your company such as clients and suppliers. You can copy what you typed in for Inside My Organization or you can put something else for people outside your organization. You can even untick the “Auto-reply…” box if you don’t want to send them an automatic reply while you’re away.